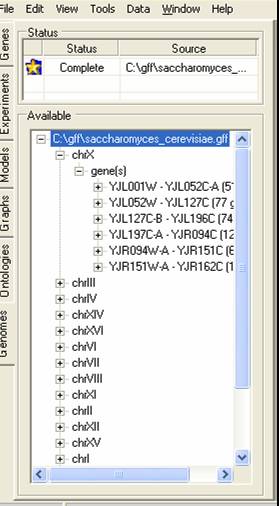
Information about the chromosome location of genes can be imported into SeqExpress in either GFF (version 1or 3) or PLS formatted files. GFF version 1 is the preferred format. To import the data, select the Location tab page on the left hand side of SeqExpress.
The page contains two tables, the top table provides information about GFF files that are being (or have been) imported, the bottom page provides information about genes and their corresponding chromosomes. To beinging importing right click on the top table, and select the Load Locations... option from the popup menu.
You then select the file you wish to import.

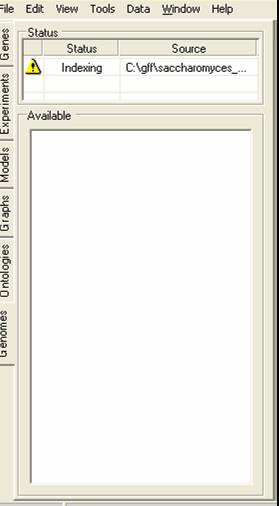
The file will then be indexed, once this is completed the top table will show the yellow 'information required' icon. You should then click on the yellow icon to provide information about what data is to be imported.
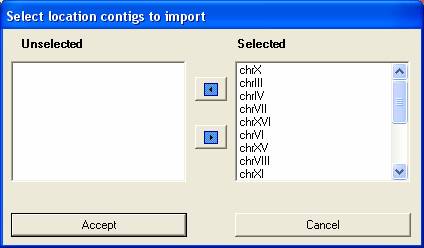
You can first select the chromosomes you wish to import data for (typically you would wish to import all the chromosomes).
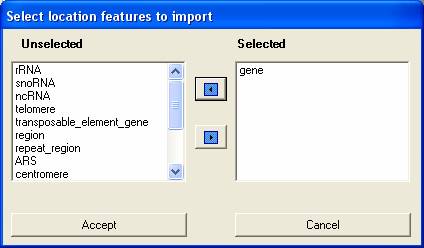
You then select which features you wish to import from the file, in this case we only wish to import 'gene features'. The more features that are imported the longer the parsing will take and the more resources SeqExpress will require.
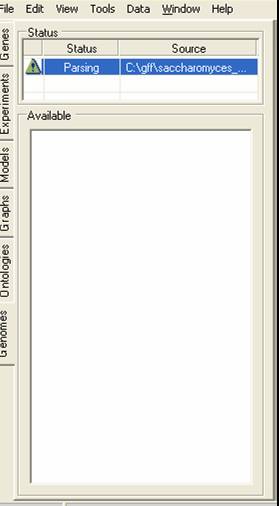
SeqExpress will now parse the file and import the chromosomes and features that were requested. Once this process is complete another yellow attention need icon will appear.
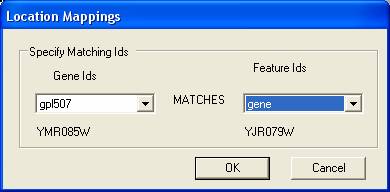
Select the yellow icon to provide information about how the IDs of the genes map onto the IDs associated with the spots/tags in the gene expression experiment. In this case the IDs in the file directly map onto the IDs of the gene expression experiment (you can map the gene IDs onto any of the annotations associated with your gene expression experiment).
The imported features will then be mapped onto your gene expression tags. The imported information is displayed as a tree in the bottom part of the location tab page. More information is available about using locations and the different visualisations that are supported.
